
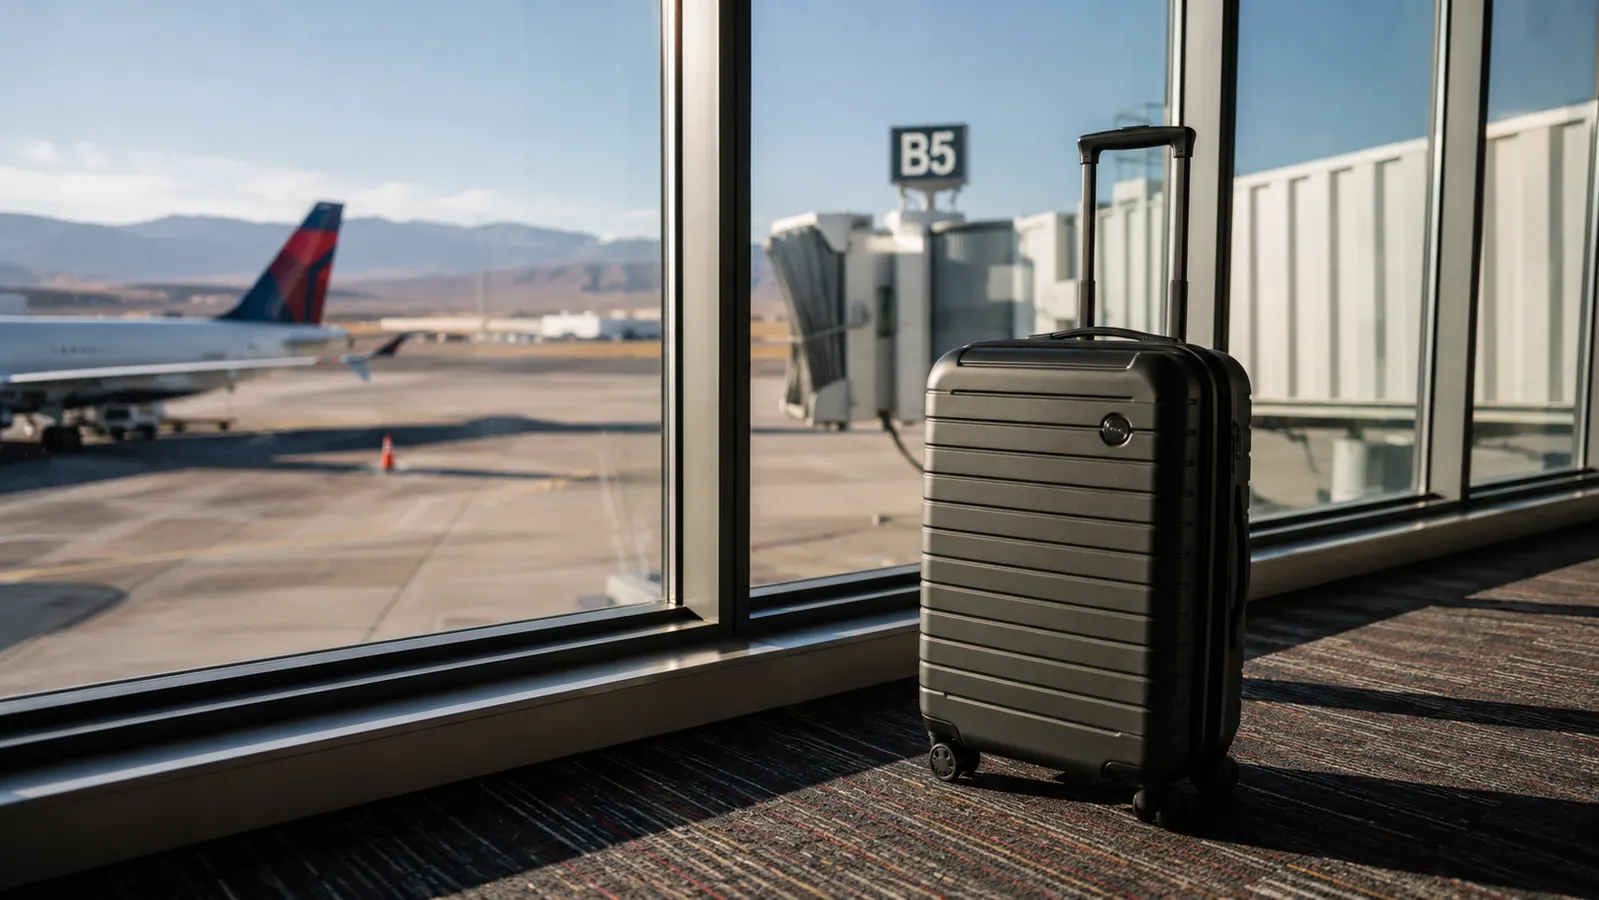
I stopped checking bags a few years ago, and it wasn't some grand decision. It was a round trip that ballooned after two bag fees, on a route my wife Rennie and I fly three or four times a year to see her family. That was the last straw. Since then I've flown with an Amazon Basics 21-inch hardside carry-on, the version with spinner wheels and the expandable zip, on somewhere north of thirty flights, and I've packed it wrong enough times to finally figure out how to pack it right.
This isn't a theory piece. It's the actual order I pack in now, the folding method that stopped my shirts from looking like they'd been in a fight, and the test I run before I ever leave the house so I'm not the person unzipping a bag at the gate while a line forms behind me. None of it requires buying anything except the carry-on itself and maybe a set of packing cubes you probably already own.
Checked bag fees run anywhere from moderate to well over the high end depending on the airline, the route, and how many bags you're bringing, and those numbers move often enough that I don't quote a specific one and trust it. What I can tell you is that a single round trip's worth of fees usually costs more than the carry-on itself, and once you've paid it a couple of times the math on doing this right starts to feel obvious.
Start with a shell that actually holds its shape at the limit
Soft-sided bags bulge past the size limit the moment you pack them full. A hardside carry-on holds a fixed exterior shape no matter how much you cram inside it, which is the whole game when you're trying to avoid a gate-check tag. The Amazon Basics 21-inch is the one I use and the one referenced in every step below.
Amazon Check Today's Price on Amazon →Step 1: Know your actual size limit before you pack a single item
The most common domestic guideline you'll see quoted is 22 by 14 by 9 inches, and that's roughly what the Amazon Basics 21-inch hardside is built around, but I want to be straight with you: that number is not universal. Airlines set their own limits, budget carriers in particular tend to run smaller, and international carriers vary even more. I check the specific airline's current carry-on policy before every trip, not once a year, because I've watched it change on routes I fly regularly.
Rennie makes fun of me for this, but I actually pull up the airline's baggage page on my phone at the gate the morning of the flight, just to confirm nothing shifted since I booked. It takes ninety seconds. Compare that to the alternative, which is finding out at the counter that your bag is a half inch over and getting hit with the same fee you were trying to dodge in the first place.
Once you know the limit for that specific flight, the packing decisions downstream get a lot easier, because you're packing to a known ceiling instead of hoping. If you're deciding between a budget hardside and something pricier with a bit more interior volume, I laid out where the extra money actually goes in my Amazon Basics versus Samsonite comparison, since size limits are usually the deciding factor either way.
Step 2: Do a full dry run and weigh the bag before travel day
I lay out everything I think I'm bringing on the bed the night before, every single item, and then I cut it by about a third. That sounds aggressive until you remember you're packing for the trip you're actually taking, not for every contingency your brain can invent. Two pairs of shoes, not four. One jacket, not two. A weekend's worth of undergarments plus a laundry plan, not ten days of fresh everything.
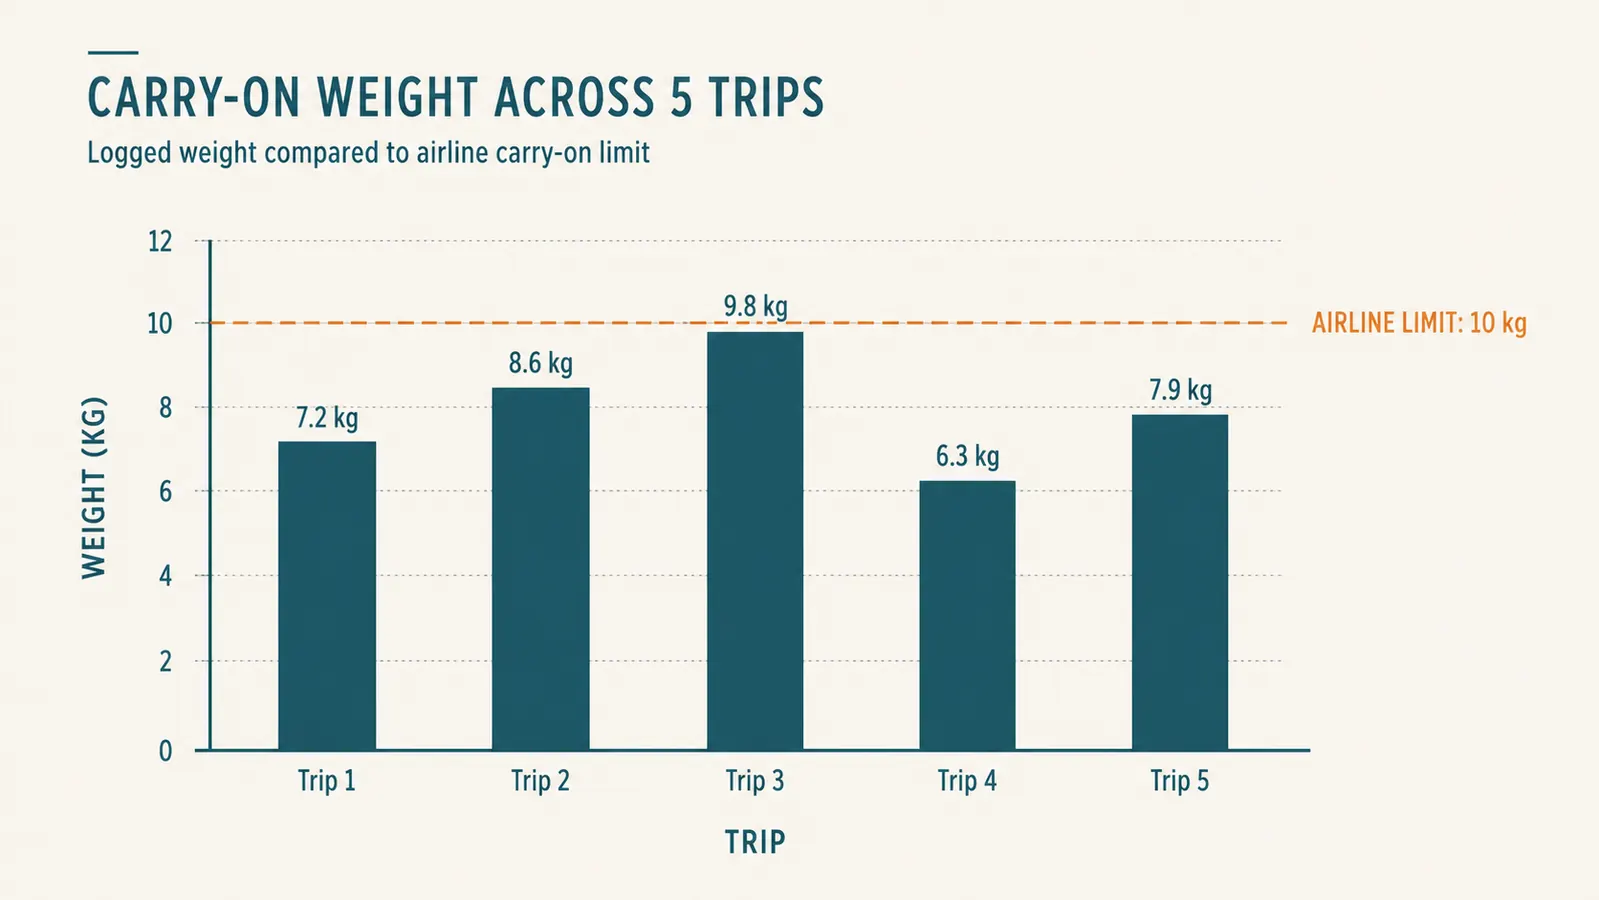
Then I pack the bag for real and put it on a bathroom scale, standing on the scale myself first, then holding the bag, and subtracting the difference. Weight limits get less attention than size limits, but plenty of airlines enforce both, especially for international carry-on. A hardside shell adds a bit of its own weight compared to soft luggage, so I budget for that in what I pack, not after the fact at the counter.
A cheap digital luggage scale, the kind with a hook you clip to the handle, is more accurate than the bathroom scale trick and worth keeping in a drawer if you fly often. Either way, weigh the empty bag once too. An empty hardside carry-on typically runs a few pounds heavier than an empty soft duffel of the same size, and knowing that baseline number keeps you from being surprised later.
This dry run has saved me twice, both times catching a bag that was maybe a pound over what a specific low-cost carrier allowed. Better to find that out on my own kitchen scale than standing at check-in.
Step 3: Pack in layers, bottom to top, in a fixed order
The order I use every time: shoes and anything rigid go in first, along the wheel side of the shell where the frame is sturdiest. Then rolled clothing, which I'll get to in a second. Then a packing cube or two of anything that needs more structure, like a folded blazer or a dress. Then the liquids bag and any loose items go on top, so they're the first thing I see when I open the lid at security or at the hotel.
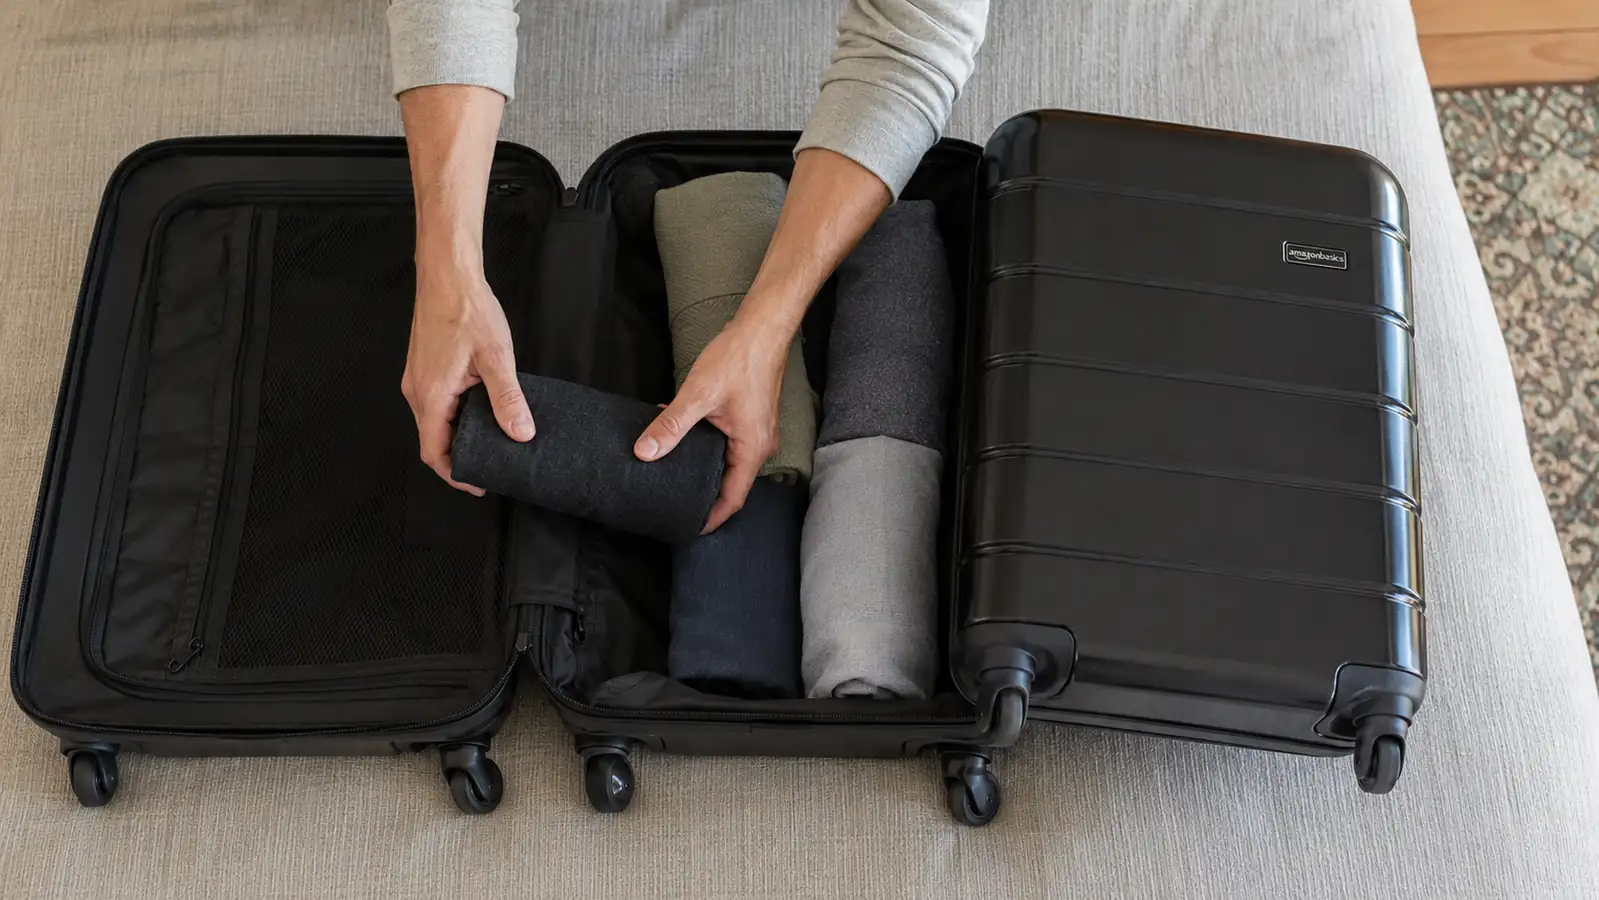
Rolling beats folding for almost everything, and it's not close. I roll t-shirts, underwear, and casual pants into tight cylinders and pack them standing on end, like books on a shelf, rather than stacked flat. It uses the vertical space in the hardside shell better and it's much easier to see and grab a specific item without unpacking the whole bag on a hotel bed. For anything that wrinkles easily, like a dress shirt, I use a bundle wrap instead, folding it around a soft core of rolled clothing, which keeps the crease lines soft.
The interior of the Amazon Basics carry-on has a mesh divider and a set of compression straps built into one side of the shell. I use the straps to cinch the rolled clothes down flat before I close the other side, which buys real room, usually enough for one more day's worth of clothing than I'd get just tossing things in loose.
Small accessories, chargers, a belt, sunglasses, go into a separate small cube or a zip pouch rather than loose in the corners. Loose small items are what actually causes bulging over time, since they migrate into gaps and end up pressing against the lid instead of sitting flat.
Step 4: Handle liquids and electronics the way TSA actually checks them
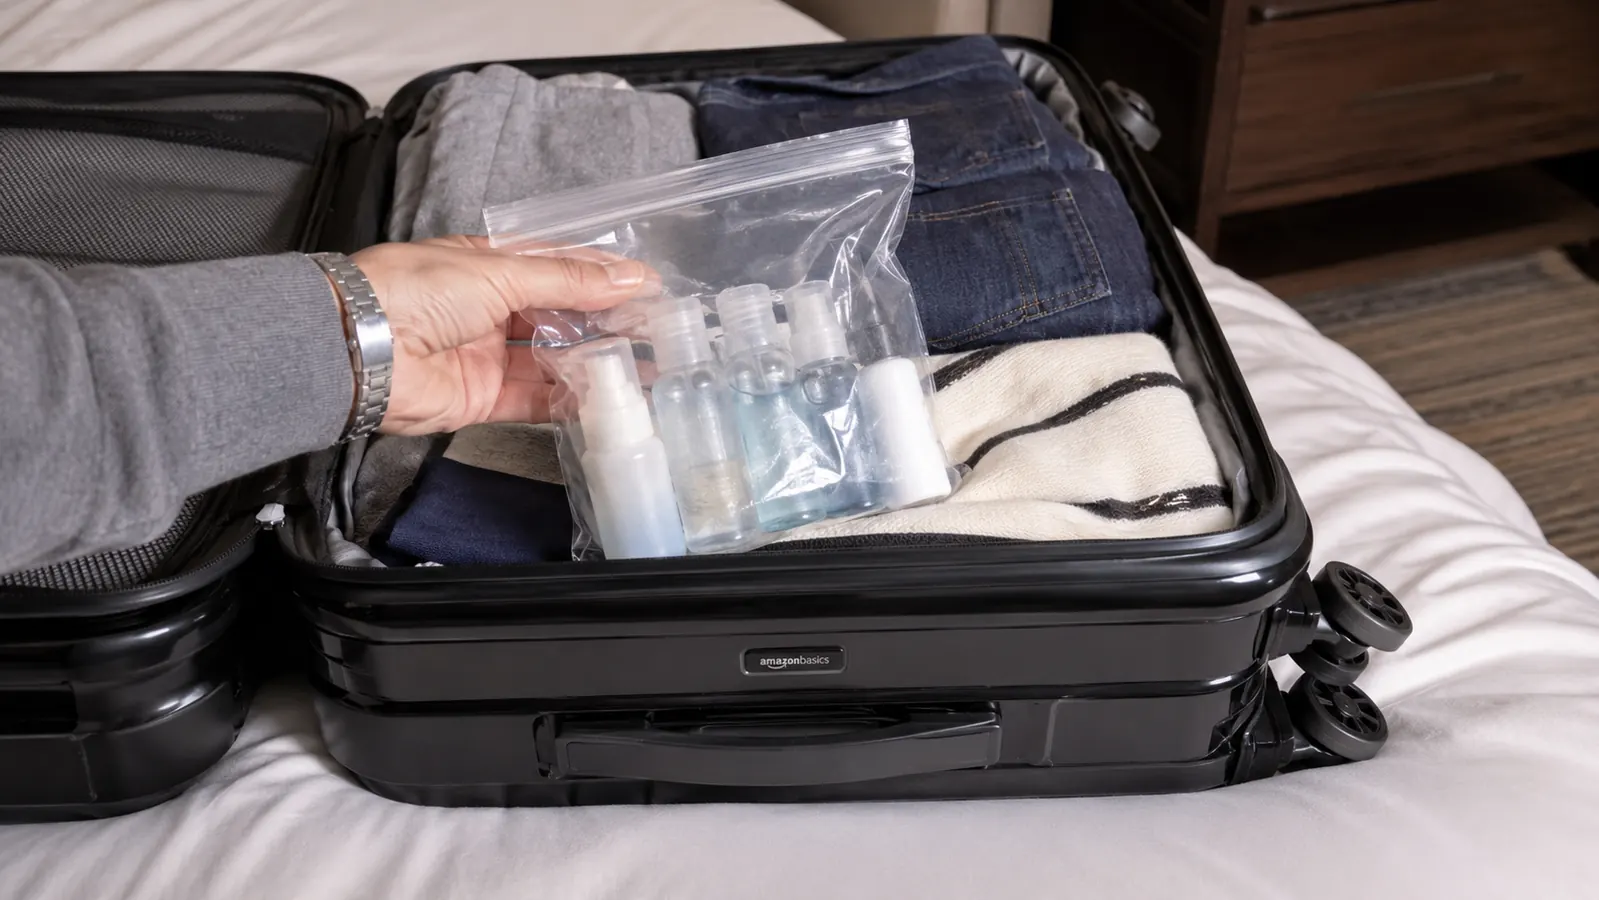
TSA's current rule of thumb for carry-on liquids follows what's often called the 3-1-1 approach, small containers in a single quart-size clear bag, but TSA updates specifics from time to time, and some checkpoints run newer scanning technology with slightly different allowances. I always check tsa.gov before a trip rather than assume last year's rule still applies, because I've been wrong about this before and had to dump a nearly-full bottle of contact solution into an airport trash can.
I keep a dedicated liquids bag packed and ready between trips so I'm not hunting for travel bottles the morning of a flight. It sits right on top of the rolled clothing, easy to pull out at the checkpoint without unpacking anything else. Laptops and larger electronics go in the top compartment too, for the same reason, quick access without disturbing the rest of the pack.
Prescription medication I keep in its original labeled container in an outer pocket, not buried in the liquids bag, since TSA agents have asked about it directly more than once and it's a faster conversation when it's already visible and separate from everything else.
Step 5: Run the gate-check test before you leave your house
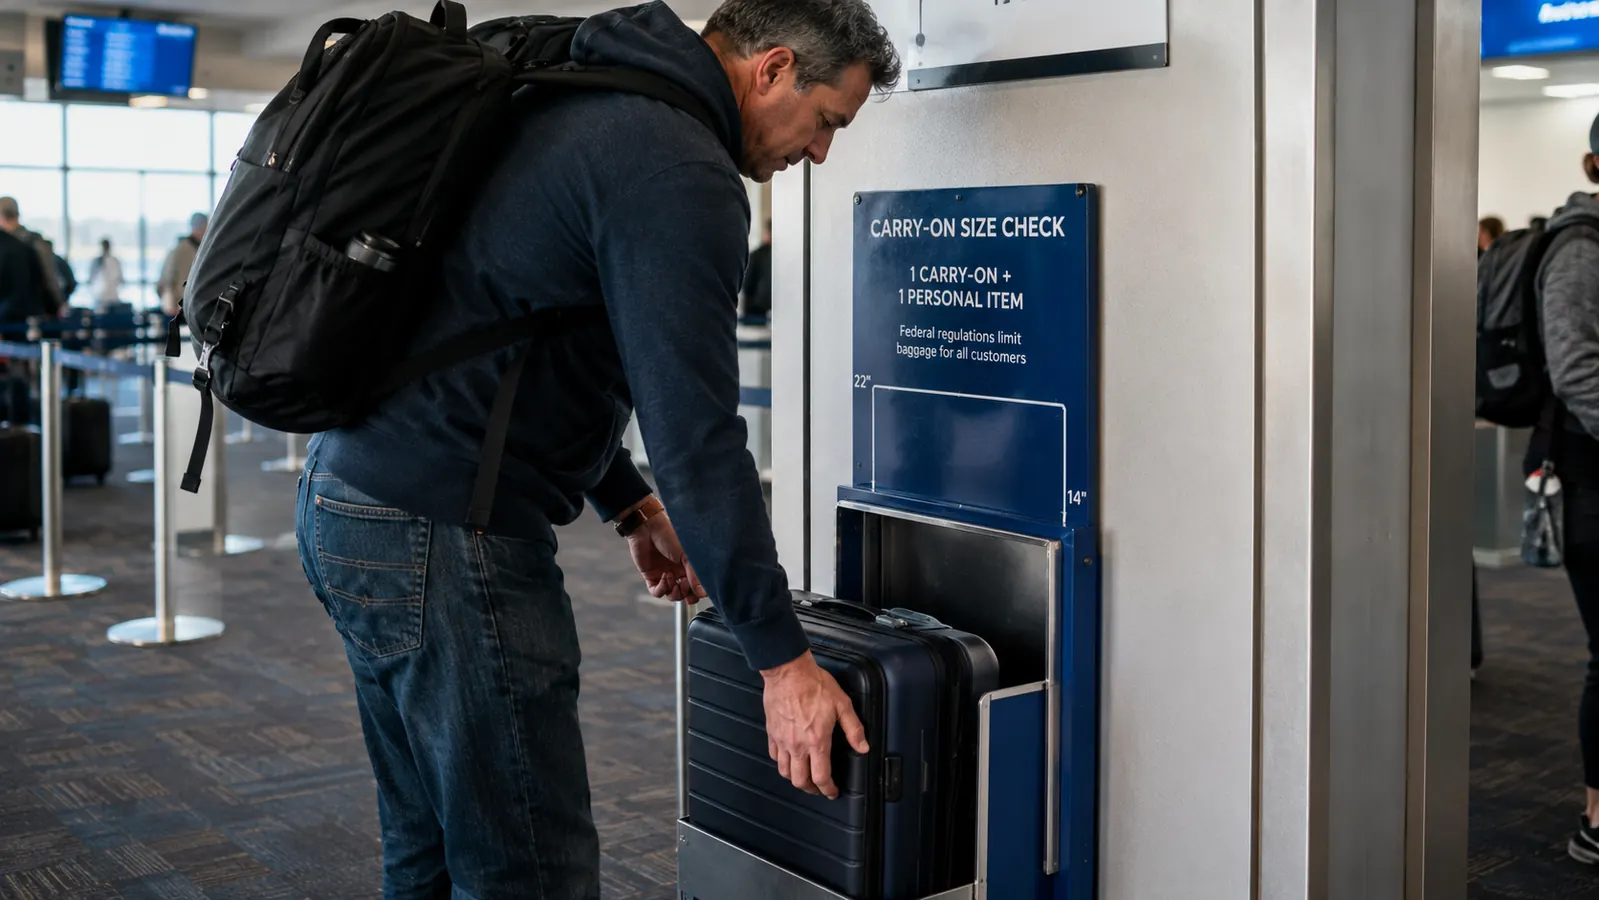
Here's the test that's saved me the most grief. Once the bag is fully packed and zipped, I try to compress it flat with my hands from the top, the way a gate agent's sizing frame would. If the shell bulges or the zipper strains, that bag is going to get flagged at a crowded gate, hardside or not. A hardside shell like the Amazon Basics 21-inch won't bulge the way soft luggage does, which is honestly the biggest reason I switched, but an overstuffed hardside can still fail to latch cleanly or can round out just enough to miss a strict sizing frame.
If it doesn't sit flat and closed without force, I pull one thing out, usually the heaviest sweater or the second pair of shoes, before I ever get to the airport. Doing this test at home, standing in my kitchen in Boise, takes two minutes and has never once failed to catch a problem before it became a fee at the counter or an awkward moment shoving a bag into a metal frame while a line watches.
And if a bag ever does get flagged despite all this, I've found it's cheaper and faster to wear an extra layer or shift a couple of items into coat pockets right there at the gate than to argue with the agent. Pride is not worth the fee.
The bag that never gets gate-checked isn't the one you stuffed cleverest. It's the one you tested honestly before you left the house.
What Else Helps
A good personal item does more work than people give it credit for. I use mine as an overflow spot for anything that would tip the carry-on over the edge, a phone charger, a paperback, a light jacket I don't want folded. Airlines are generally stricter about carry-on size than personal item size, so shifting weight there, within reason, buys real breathing room in the main bag. I also keep my in-flight comfort gear, like the footrest and cabin extras I cover in my long-term carry-on review, in the personal item rather than the suitcase, since I want it accessible the second I sit down.
The other habit worth building is checking the specific fare class you booked, not just the airline in general. A lot of the cheapest fares now restrict carry-on rights to a small personal item only, and that's a fee trap that has nothing to do with how well you packed. Read the fare rules before you book, not after you're standing at the gate wondering why your ticket says otherwise.
For anything longer than about five days, plan on doing a load of laundry mid-trip rather than packing for every day. Most hotels have a coin machine or a nearby laundromat, and a travel-size detergent packet weighs nothing compared to three extra days of clothing. Rennie and I have stretched a two-week trip out of a single carry-on each this way more than once, and it's honestly less hassle than it sounds.
The carry-on that makes every step above actually work
A hardside shell that holds its shape, an interior built for compression straps and cubes, and a size built around the common domestic guideline. That combination is why the Amazon Basics 21-inch is the bag I've packed this exact way for a year of flights.
Amazon Check Today's Price on Amazon →